
I was really excited when I saw in the Salesforce Winter ’23 Release Notes that DataWeave will be available soon in Apex. After that, I started exploring the GitHub repository to try out a simple scenario, which I will explain in this blog.
Before we start testing DataWeave, there are a few steps we need to setup.
Setup our Project and the Scratch Org
If you are not familiar with scratch orgs, you should read a bit more about them in the official documentation. Simply put, an scratch org is a “special” Salesforce org created from the Dev Hub. The org has multiple use cases but, for this case, we will be testing a view feature. You can also use the org for things like developing ISV managed packages, development using Salesforce DX projects, and release management in Salesforce.
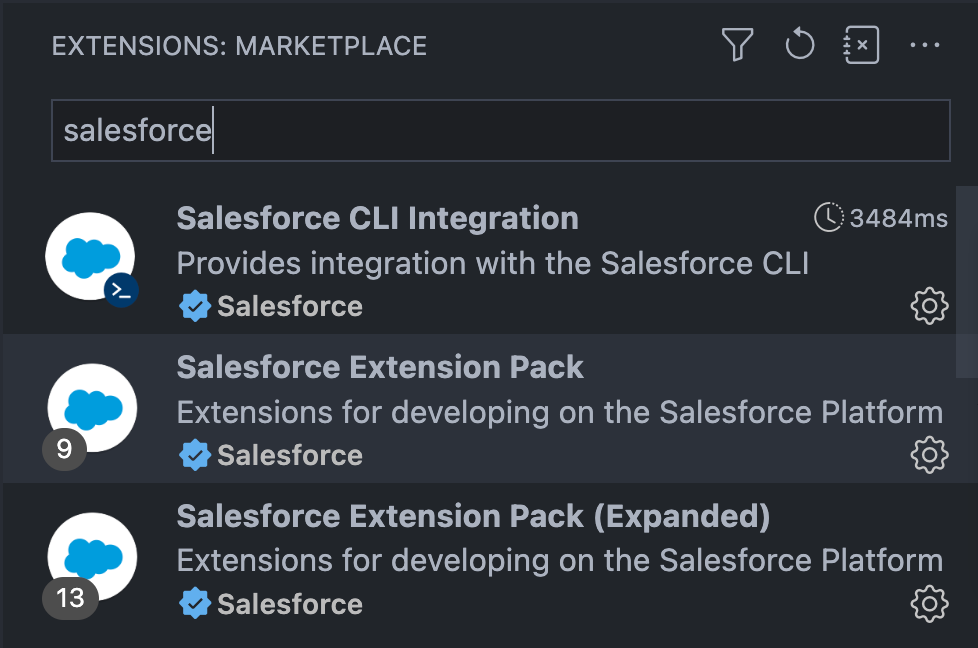
First, we need to make sure we have VSCode and the Salesforce Extension Pack installed. Salesforce CLI is also needed to make use of the sfdx command.
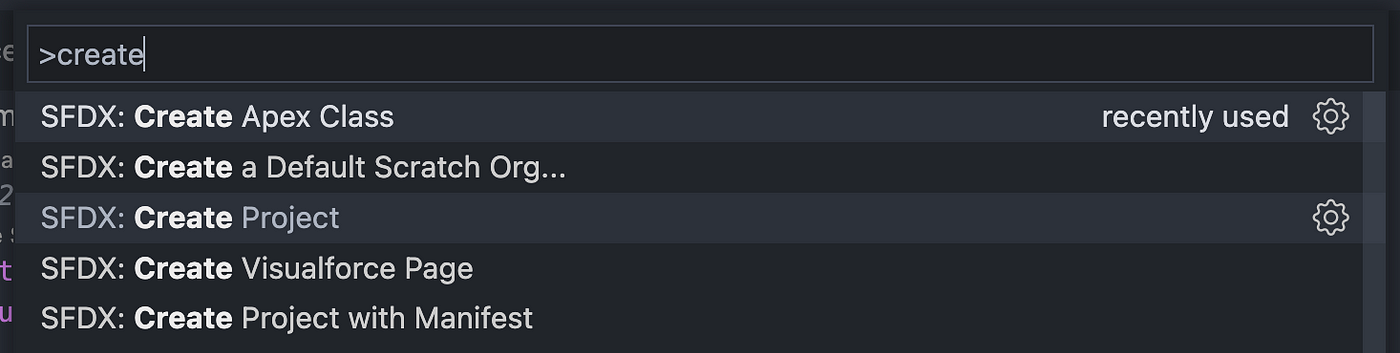
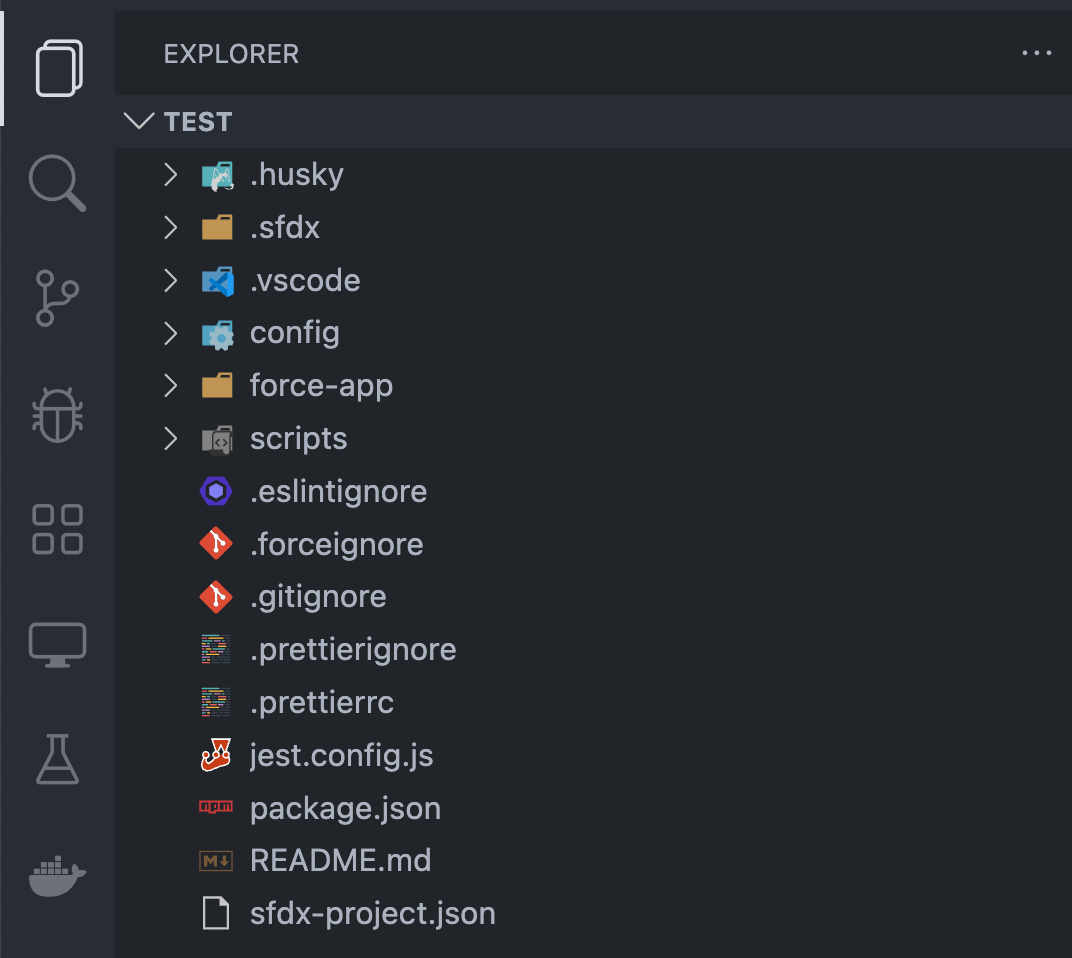
The next step is to create a new project locally. First, we need to open the command palette in VSCode and type “Create project”. We select the option “SFDX: Create Project” and select a destination and project name. Finally, we should be able to see the project structure created.
The next step is to authorize the DevHub instance to create our scratch org. To do so, open the command palette using Shift + Command + P (If you are a Mac user) and select the “SFDX: Authorize Dev Hub” command. This will redirect you to the Salesforce login page where you will provide your credentials. Finally, the authorization should be complete. You can validate that the connection has been completed by running:
sfdx force:org:list --all

In the next step, we need to modify the file under config/project-scratch-def.json and add the DataWeaveInApex value on the feature section. The file should look like this:
{
"edition": "Developer",
"features":
[
"EnableSetPasswordInApi",
"DataWeaveInApex"
],
"orgName": "YOUR_ORGNAME",
"settings":
{
"lightningExperienceSettings":
{
"enableS1DesktopEnabled": true
},
"mobileSettings":
{
"enableS1EncryptedStoragePref2": false
}
}
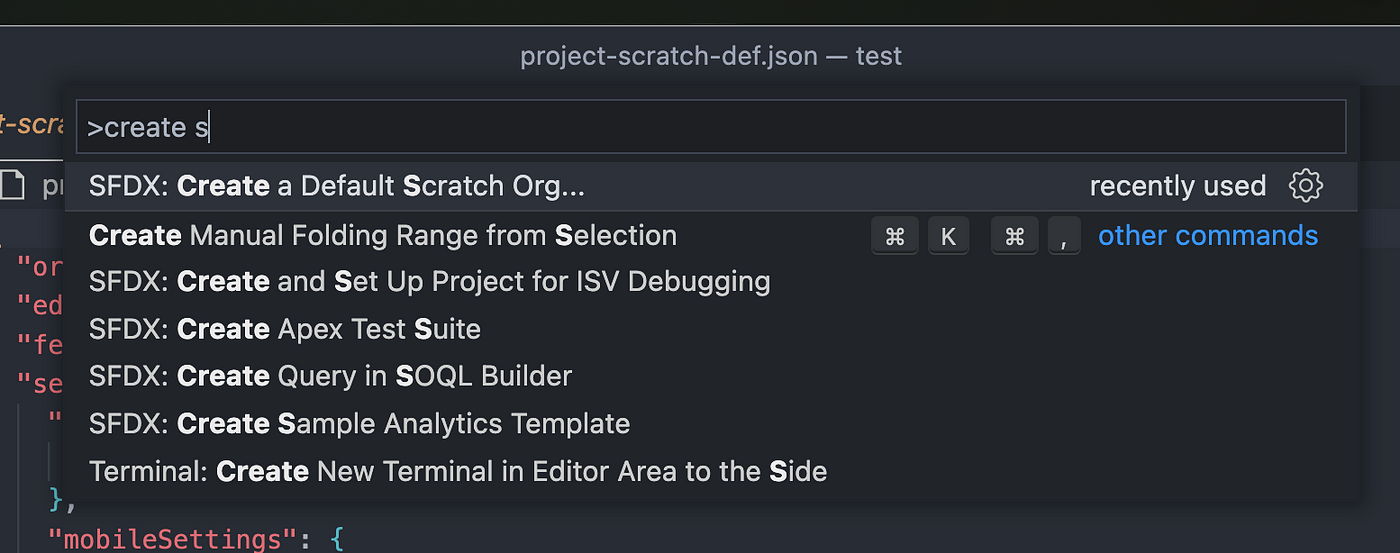
}Now, we should be able to create our scracth org. To do this, we open the palette again and select the command “SFDX: Create a Default Scratch Org” and we point to the “project-scratch-def.json” we just modified. You can set an alias and a duration in days (max 30 days).
In other words, the behind-the-scenes CLI is running.
sfdx force:org:create -f config/project-scratch-def.json --setalias test --durationdays 20 --setdefaultusername --json --loglevel fatal
If everything went well, you should be able to run the “SFDX: Open Default Org”, be redirected to your browser, and see Salesforce. At this point, everything is correct and we should be able to start writing code.
Create and Deploy the Simple DataWeave Code
First, we need to create a folder “dw” under the force-app/main/default path in your project. Inside the folder, we need to create two files:
- json2sObjects.dwl
%dw 2.0
input incomingJson application/json //This is a parameteroutput
application/json //here we specify the output (JSON)
---
incomingJson map { Company: $.title.rendered, FirstName: $.author}- json2sObjects.dwl-meta.xml
<?xml version="1.0" encoding="UTF-8"?><DataWeaveResource xmlns="http://soap.sforce.com/2006/04/metadata"> <apiVersion>53.0</apiVersion></DataWeaveResource>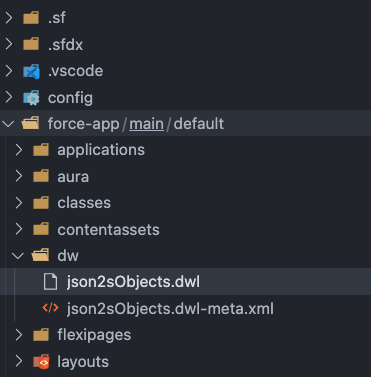
Once the code is created, we need to run a command from our terminal in order to push the code into our scratch org.
sfdx force:source:push --json --loglevel fatal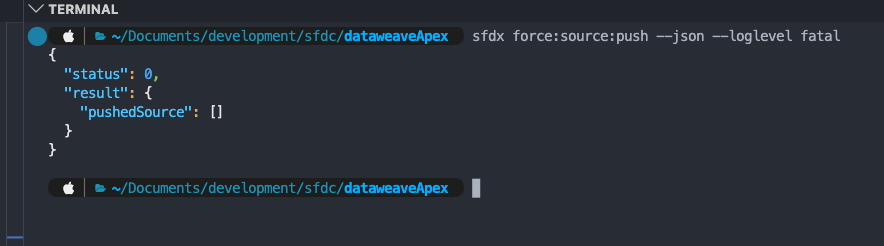
Let’s Write Some Apex Code
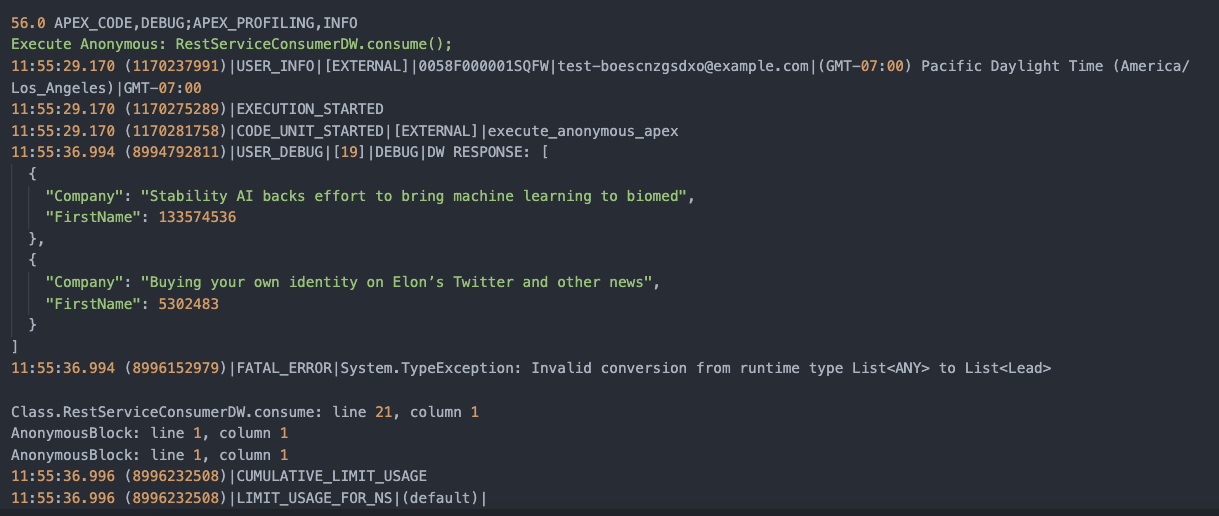
I will show a simple snippet that pulls data from a public REST API, passes the response into a DataWeave script, and catches and serializes the response to use for any additional actions. It is very important to make sure to map couple fields and map them into a lead list.
Let’s create an Apex class called “RestServiceConsumerDW” with one single method “consume”. This will make a single call to this site and will retrieve only a couple of records (we can change the per_page param). Then, the response is sent as a parameter from a map into the DataWeave script call. Finally, the DataWeave.Result will give you the mapping from DataWeave. To catch the results, we will assign them into a list of type list. We can use this code:
In the future, I will discuss more complex scenarios, but I think this is one useful way to map and transform data. DataWeave has a lot to offer. I hope you found this blog useful and please let me know if you have any questions or suggestions.